My spare room felt chaotic: scattered weights, cold concrete, and workouts that fizzled. I rebuilt it into a practical beginner home gym for about $450 in phase one and $1,200 once I added a rack. Small changes—floor first, then one core strength piece—made workouts consistent and the space inviting.
Quick context
I’m aiming for a minimalist functional look that works in apartments or garages. Budget: phase one under $200, full beginner setup ~$800–1,200. This guide uses zoned layout and adjustable gear trends so you can scale over time.
What You'll Need for This Look
Foundation
- Horse stall mats 4×6 black rubber (~$60-120 per mat; buy 2–4 for 75–100 sq ft)
- Plywood lifting platform 4×6 (~$80 DIY or pre-cut)
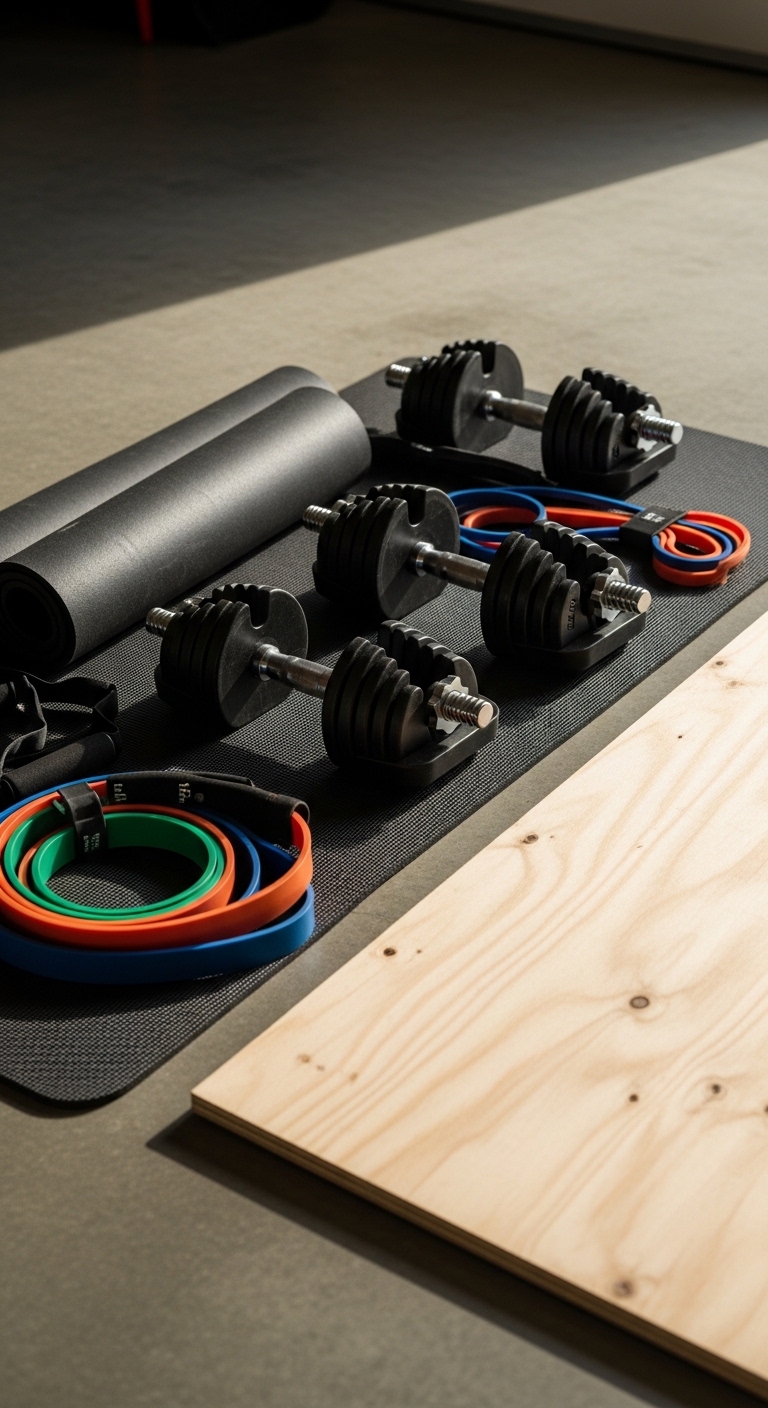
Strength essentials
- Adjustable dumbbell set, pair (up to 50 lb) (~$120-300)
- Olympic barbell 7ft 20kg (~$120-200)
- Bumper plates 2×45 lb set (~$200-400)
- Compact power rack or squat stand (foldable) (~$300-800 — XMark has budget kits)
Multi-use and accessories
- Adjustable bench, multi-position (~$120-250)
- Kettlebell set (12/16/24 kg) (~$60-120)
- Fabric resistance bands set with handles (~$20-40)
- Wall-mounted storage pegboard/hooks (~$30-80)
- Rolling TV stand or tablet mount (~$80-200)
- Bluetooth speaker (portable) (~$40-150)
Budget swap: skip bumper plates and start with adjustable dumbbells and bands to stay under $200.
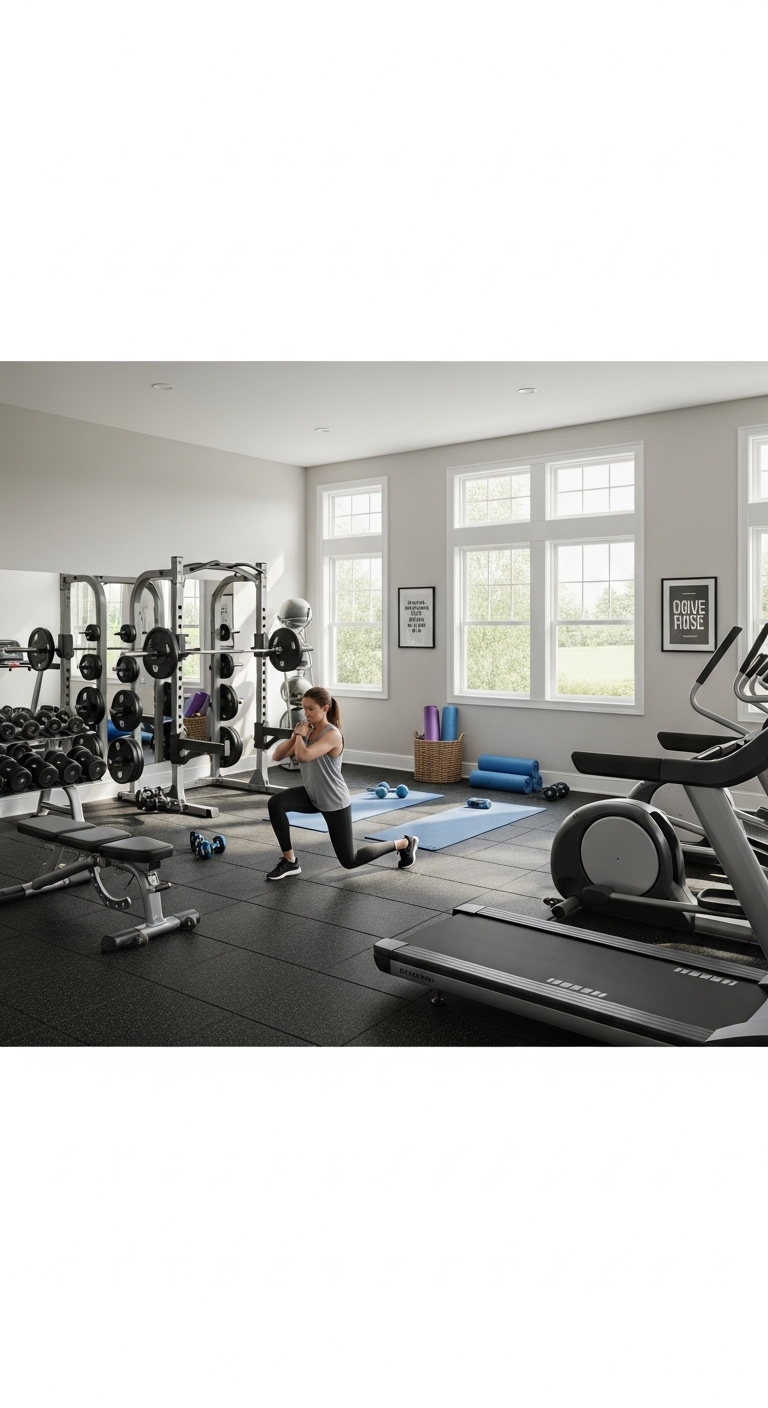
Start with the foundation: floor protection and layout
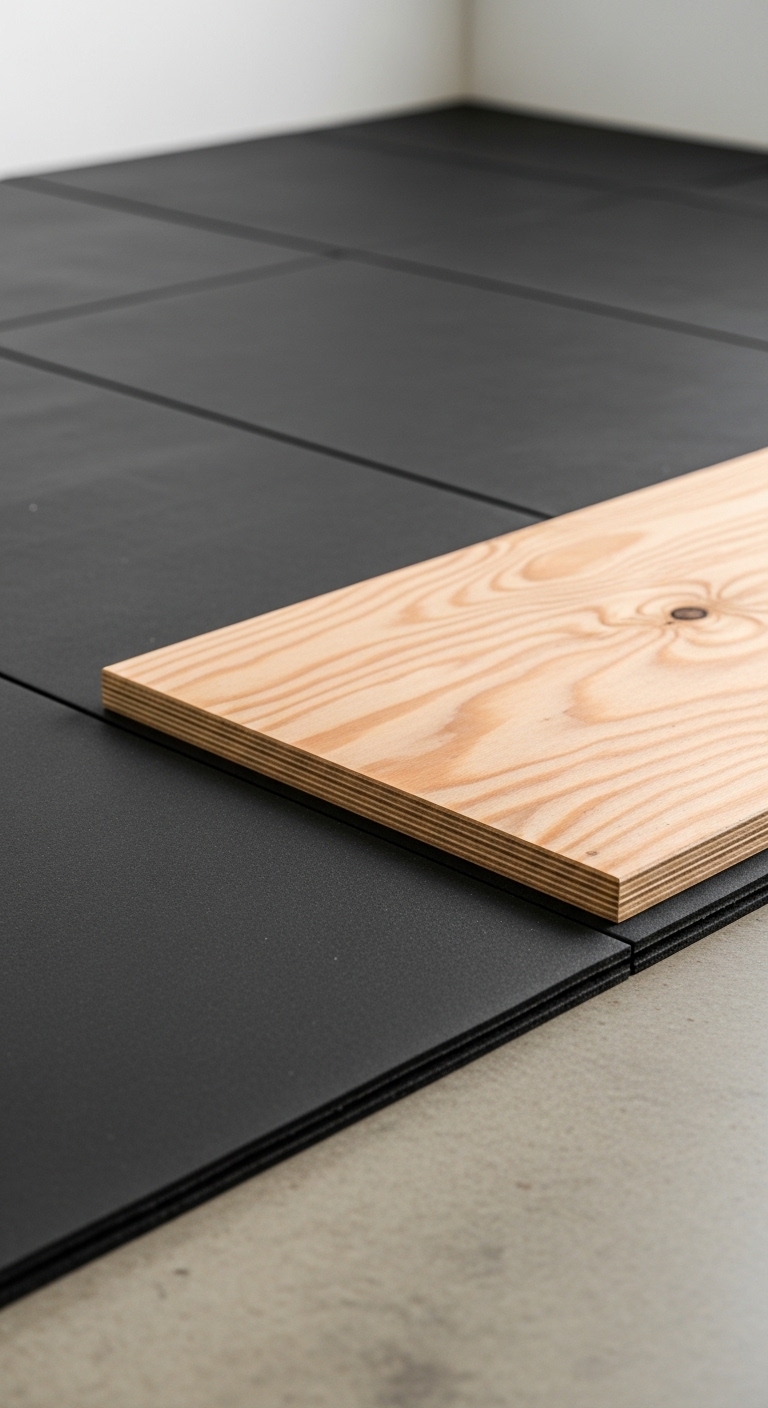
Flooring is non-negotiable. I began with two horse stall mats 4×6 and a 4×6 plywood lifting platform. Together they protect the concrete and reduce noise. Aim for 75–100 sq ft for a basic strength zone. Lay mats so the bench and rack front legs sit fully on rubber. That prevents wobble and protects plates when you set the bar down.
Visual rule: dark rubber plus a warm plywood strip keeps the space from feeling industrial-only. I tried plain interlocking tiles first and they slid. The fix was a wider platform and contact cement underlay. Mistake people make here is under-sizing mats. If weights overhang, you risk damage and a sloppy look.
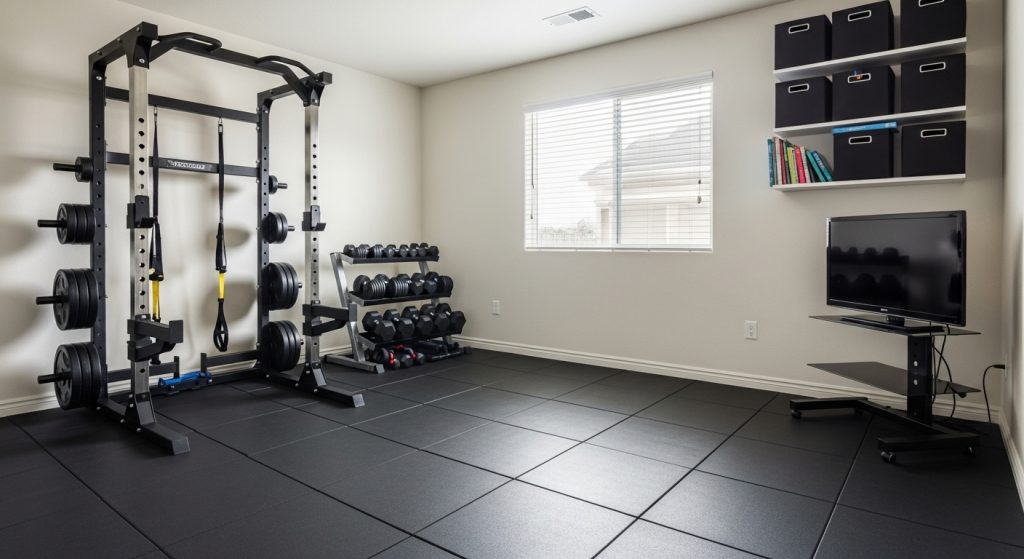
Build a strength zone that fits: rack, barbell, and adjustable tools
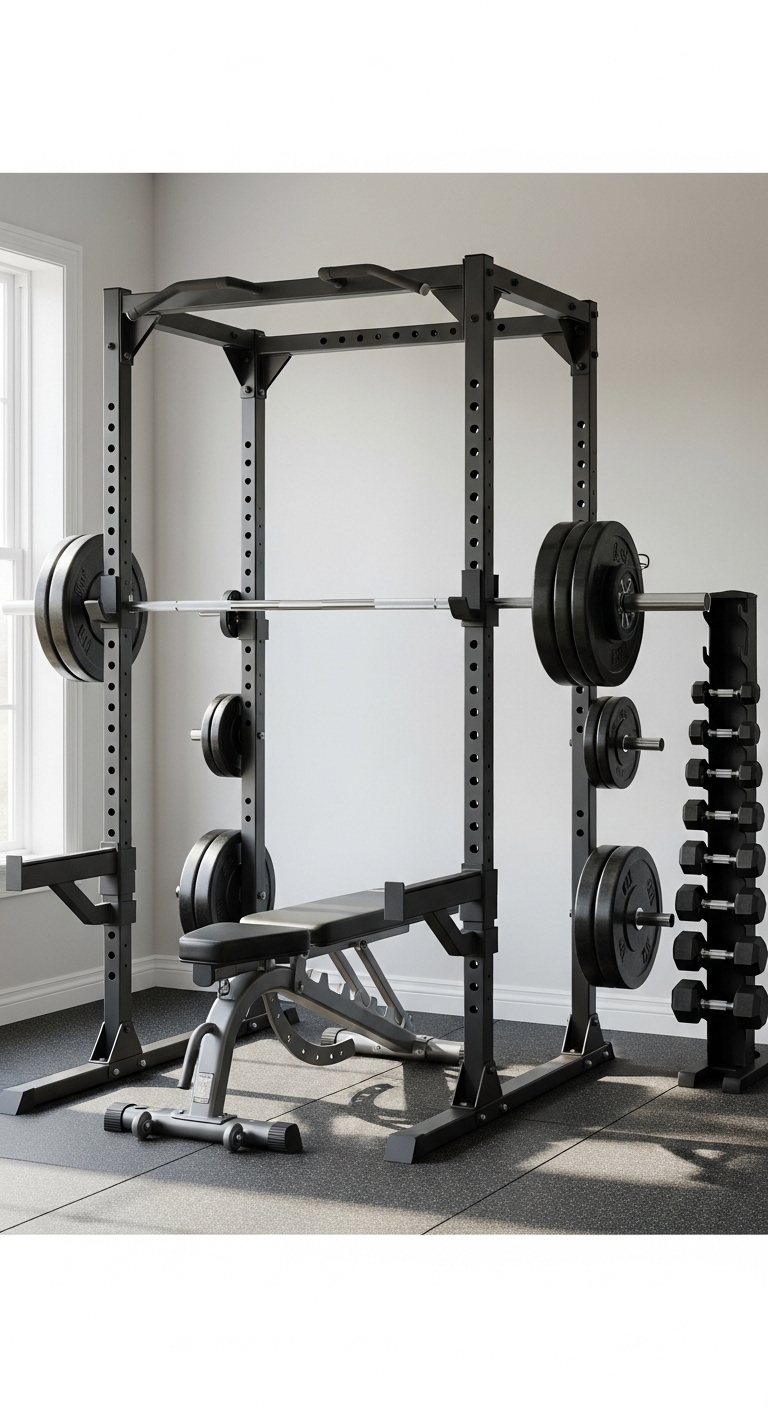
I put the squat rack against a short wall to free open floor. I used a compact foldable power rack sized to leave 2–3 feet behind for safety. Inside, an adjustable bench and an Olympic barbell 7ft 20kg cover most compound lifts. For small spaces, I recommend bumper plates because they stack and protect floors.
Scale tip: leave at least 24 inches in front of the rack for bar path. I learned this the hard way—my initial layout blocked the doorway. Solve that by sketching a 75–100 sq ft zone on paper before buying. Store plates on a vertical plate tree or wall-mounted pegs to keep the floor clean.
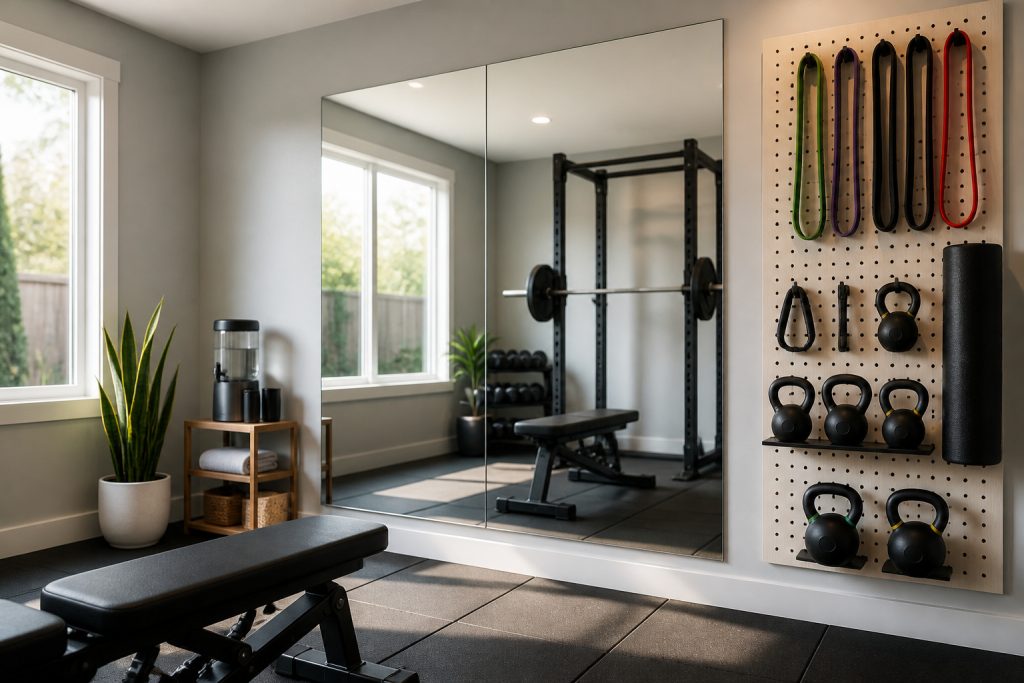
Add variety and polish: cardio, accessories, and storage
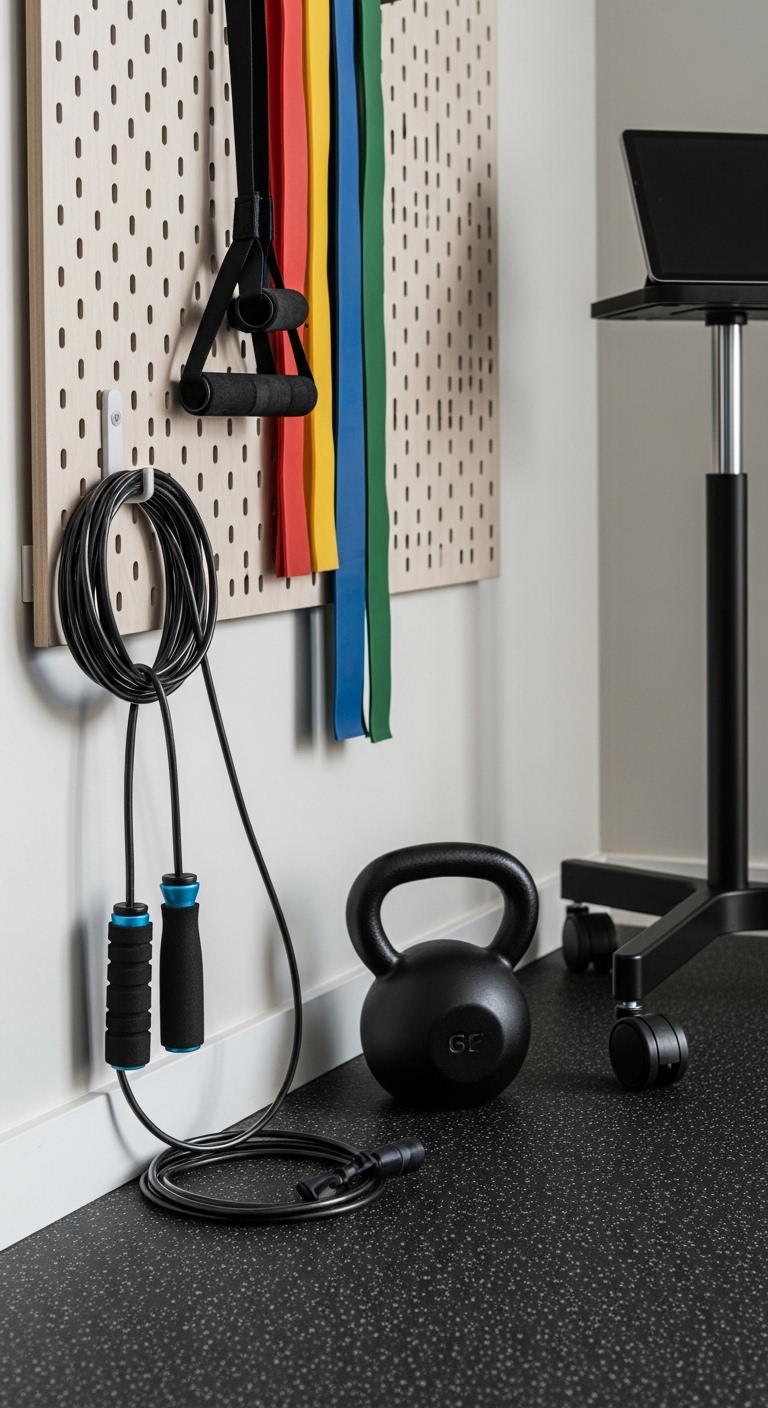
Once strength basics were set, I created a conditioning corner. A kettlebell set, jump rope, and fabric resistance bands give circuit options without clutter. I mounted a pegboard and hooks (garage gym pegboard hooks) for bands, belts, and a foam roller. For streaming classes, a rolling TV stand or tablet mount keeps screens at eye level.
Lighting and sound matter. A small Bluetooth speaker and daylight-balanced bulbs keep the space motivating. I tried overhead fluorescent first; it made the room feel like a basement. Switching to a warm LED fixture and a portable lamp changed the mood and made me use the room more.
Common Styling Mistakes to Avoid
Mistake: cramming everything in one corner
Why it doesn't work: The space reads cluttered and you’ll avoid using it.
Do this instead: zone by function—strength, conditioning, storage—and keep an open 3–4 ft training lane. Use pegboard hooks for vertical storage.
Mistake: buying heavy iron plates for first build
Why it doesn't work: They’re loud and can damage floors.
Do this instead: start with adjustable dumbbells and bumper plates later.
Mistake: skipping floor protection to save money
Why it doesn't work: You’ll pay in damaged floors and neighbors’ complaints.
Do this instead: buy horse stall mats 4×6 to cover impact areas.
Shopping Guide: Where to Find These Items
- For budget racks and kits, check XMark and similar sellers on Amazon: search compact+foldable+power+rack.
- Need space-saving weights? Start with adjustable+dumbbell+set — they replace several pairs.
- For garage flooring, search horse+stall+mats+4×6. They’re affordable and durable.
- Want tech that moves? Try rolling+tv+stand so you can stream classes in any zone.
- If you lack natural light, realistic faux plants aren’t necessary here—prioritize sound and bulbs like bluetooth+speaker+portable and daylight LEDs.
I bought the bench after the rack. That phased approach kept costs down and avoided regret purchases.
Start small: protect the floor, pick one core strength piece, then add adjustable tools and storage. Which part of your space will you zone first?