
How to do reverse crunches without swinging your hips is the single cue that added 10 clean reps to my set overnight.
If you want tight, controlled lower-abs work and less lower-back strain, this piece shows the cues, minimal gear, and the small setup tweaks that actually stop the hips from kicking in. Budget range: about $40 to $200 depending on gear.
My setup is compact and focused. It suits apartment lifters and garage gym people who want control over momentum, not more flash. I noticed people are pairing reverse crunches with slow eccentric tempos in 2025 routines, so I leaned into tempo and bracing here.
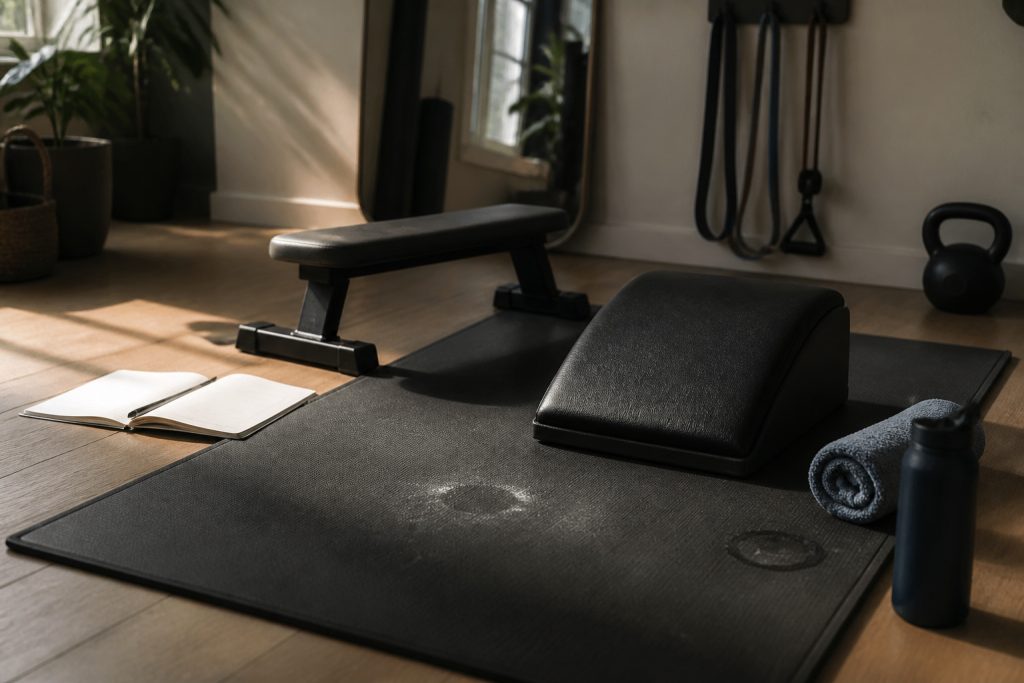
1. Start with the Foundation: Mat, Support, and Foot Placement

A stable surface is non negotiable. If your floor is slick or too soft the hips will hunt for momentum.
Lay a thick exercise mat so your lower back never caves into a hard floor. I use a half inch mat when I train barefoot. It keeps the pelvis supported while you isolate the rectus abdominis.
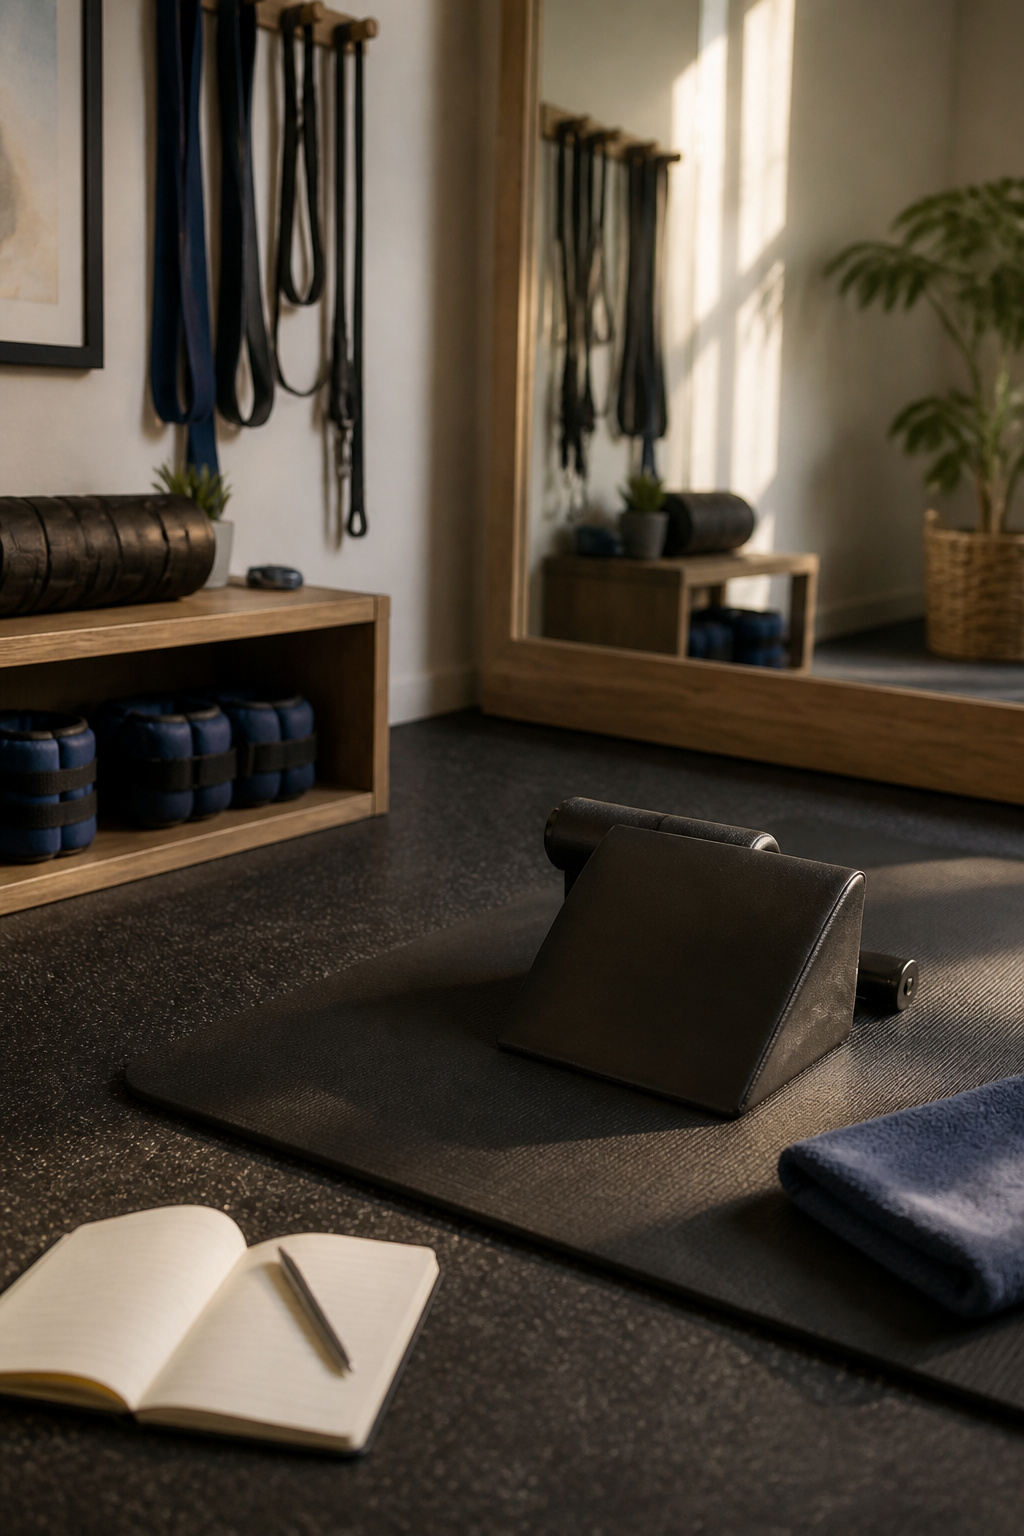
For light support add an ab wedge or small rolled towel under your tailbone. It gives a tactile cue to stay posteriorly tilted. Try the Thick exercise mat 1/2 inch around $30 to $60 and the Leather ab wedge with strap about $40 to $80.
Place feet hip width and keep knees bent to 90 degrees. That shortens the lever and reduces hip drive. Most people set up too close to the chest and then fling the hips. Move your feet slightly farther from your butt, about 8 to 12 inches, and the reverse crunch becomes a pure abdominal curl.
Result: a compact, grounded starting position that removes the temptation to swing.
2. Layer in Bracing and the Posterior Pelvic Tilt Cue
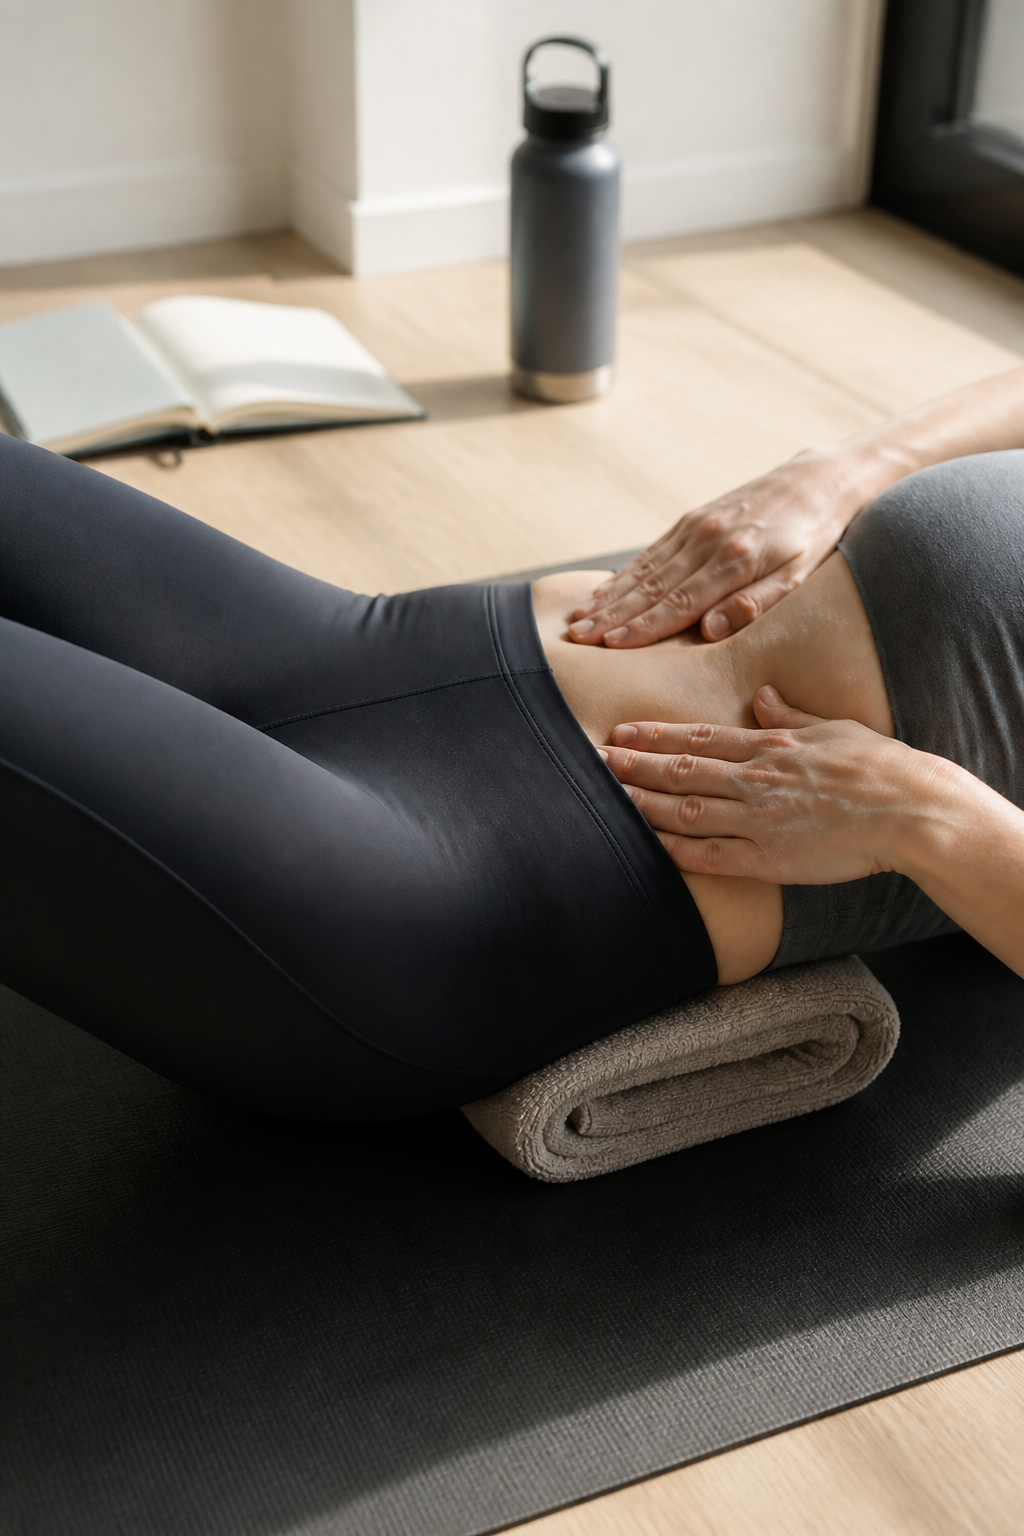
The trick is learning to curl the pelvis up, not swing the legs. Think short spinal flexion from the ribcage to the pelvis.
Practice posterior pelvic tilts lying on the mat until the motion is a cue. Use a mirror so you see the ribs drop toward the hips. The Full length wall mirror 24 by 60 inch around $60 to $120 helps a lot.
A light resistance band looped around your knees gives proprioceptive feedback. You will feel the hips try to open. Use a Resistance band loop 1 inch thick medium approx $10 to $25 to cue knees together and keep the hips still.
Mistake people make is bracing with breath alone and letting the hips lead. Brace the abs, then tilt the pelvis. Short, isolated reps beat big swings every time.
3. Nail the Leg Path and Tempo: Short Lever, Slow Eccentric
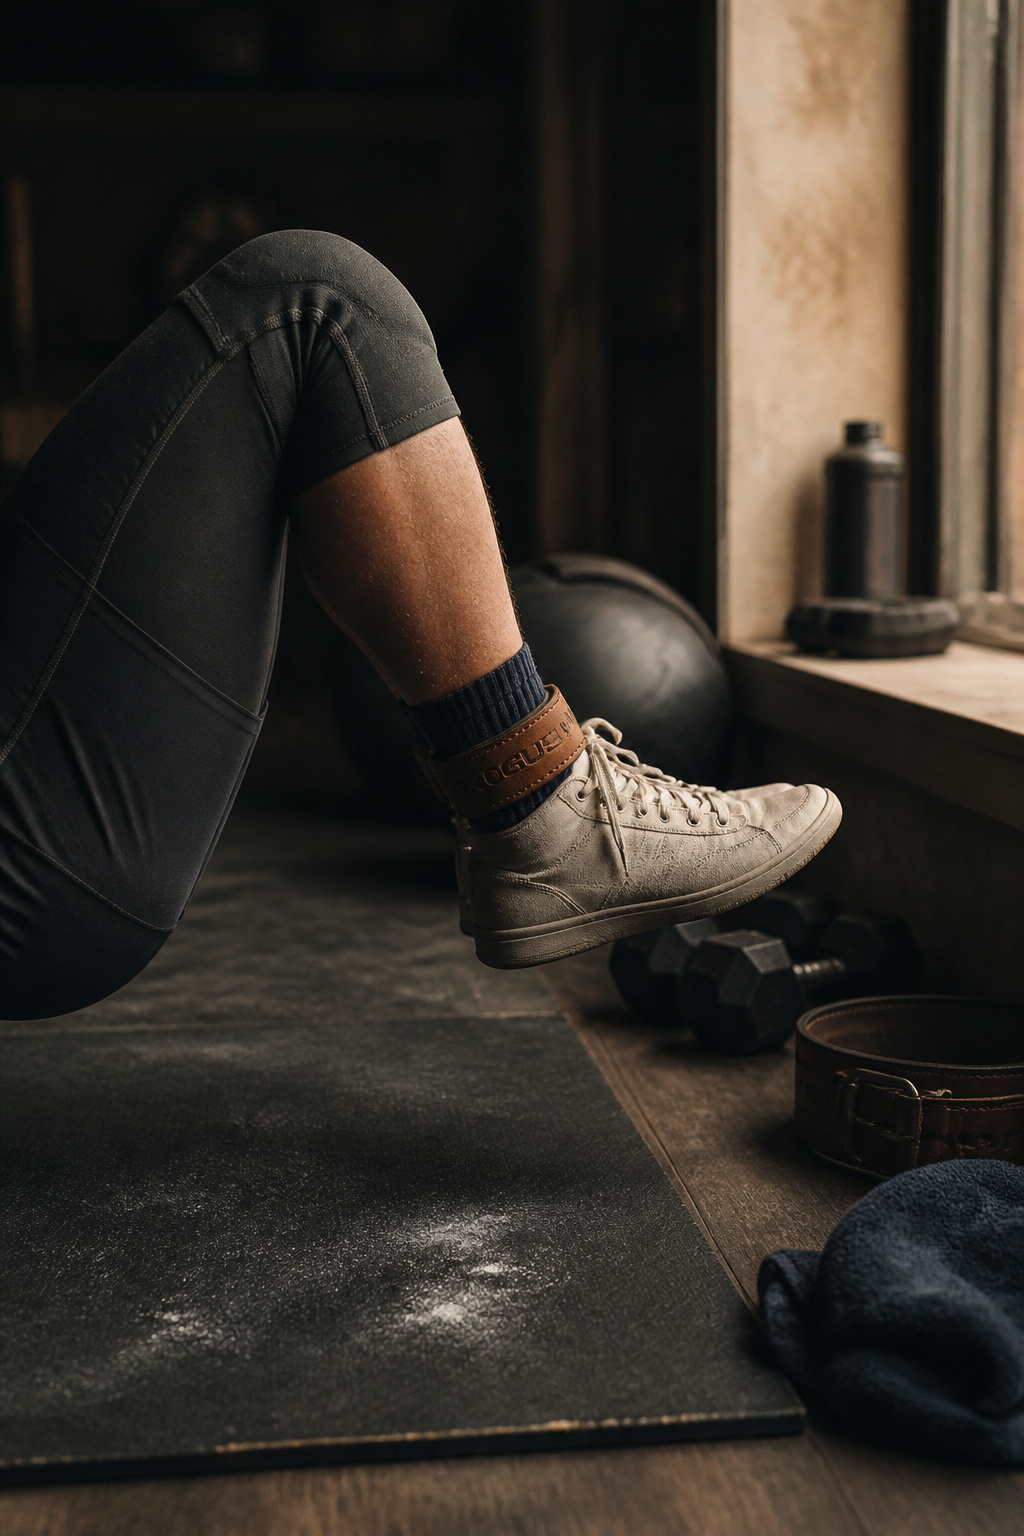
Shortening the lever is the single mechanical change that reduces hip swinging.
Keep knees bent 90 degrees and aim to raise hips using the lower abs only. Lower the legs slowly on a 3 to 4 second eccentric to force control. I count aloud to keep tempo steady.
If your legs are heavy, add light ankle weights for resistance that keeps the abs working without momentum. Try the Ankle weight pair 1 to 5 lb each around $15 to $35.
A small digital metronome helps pace the eccentric. The Digital metronome pocket size about $10 to $25 works well.
Common error: moving the legs faster than the spine. Slow the descent and you will feel the abs working, not the hips.
4. Progressions, Accessories, and Real-World Cues
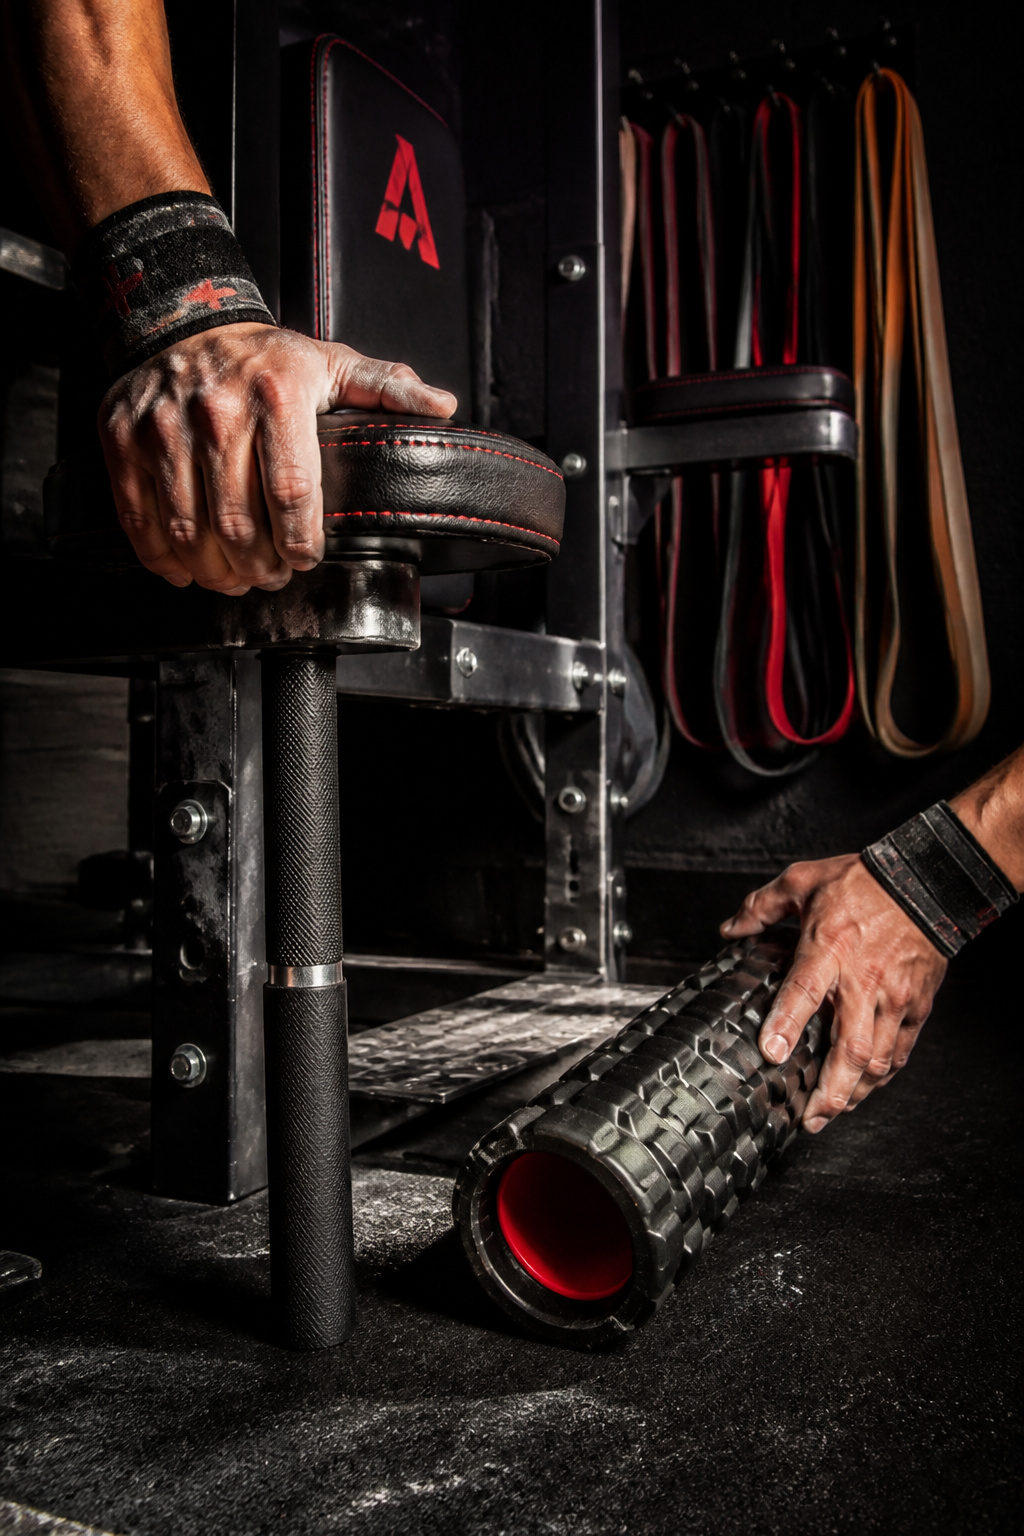
Once you control single rep mechanics, add progressions that keep the pelvis quiet.
A captain's chair or dip station gives a vertical path and prevents hip drive. The Compact captain's chair dip station about $120 to $350 lets you focus on lumbar curl rather than kick.
Swiss ball reverse crunches add instability. The Exercise stability ball 65 cm anti burst around $20 to $40 is a solid option.
Ugly truth: heavy gear does not fix bad technique. I wasted a month thinking a heavier band would stop my hips. It did not. Technique and cues beat heavier resistance early.
Result: steady, repeatable reps that build true lower-abs strength and reduce strain.
Common Setup Mistakes to Avoid
Mistake: Lying too flat with no tailbone support
Why it doesn't work: The lumbar arches and hips compensate, causing swing.
Do this instead: Add a Leather ab wedge with strap or rolled towel for a posterior tilt cue.
Mistake: Using long straight legs from the start
Why it doesn't work: Long lever multiplies hip momentum.
Do this instead: Keep knees bent 90 degrees and try Ankle weight pair 1 to 5 lb each to load the abs safely.
Mistake: Rushing the lowering phase
Why it doesn't work: Fast eccentrics let hips take over and reduce tension.
Do this instead: Use a Digital metronome pocket size to count a controlled 3 to 4 second descent.
What You'll Need for This Setup
Foundation Pieces
Thick exercise mat 1/2 inch around $30 to $60
Leather ab wedge with strap about $40 to $80
Strength & Free Weights
Ankle weight pair 1 to 5 lb each around $15 to $35
Exercise stability ball 65 cm anti burst around $20 to $40
Conditioning & Mobility
Resistance band loop 1 inch thick medium approx $10 to $25
Foam roller high density 18 inch around $20 to $40
Finishing Touches
Full length wall mirror 24 by 60 inch around $60 to $120
Digital metronome pocket size about $10 to $25
Budget Swaps
Used stability ball similar on Facebook Marketplace for less consider local options for bargains
Budget mat 1/4 inch around $15 to $30
Shopping Guide for This Setup
Buy the mat on sale: Peak deals hit around New Year and summer clearance; see Thick exercise mat 1/2 inch around $30 to $60.
Mix used and new: Grab a used stability ball or bench, pair with new bands like Resistance band loop 1 inch thick medium approx $10 to $25.
2025 trend pick: Slow-tempo tools matter; a metronome like Digital metronome pocket size about $10 to $25 pairs well with tempo programming.
Splurge vs save: Splurge on a good mat and mirror, save on ankle weights and bands; see Leather ab wedge with strap about $40 to $80.
Conclusion
Start with the mat and the posterior pelvic tilt cue. One small change in setup and tempo removes most of the hip swing.
Pick one progression to practice for two weeks, record your reps, and watch how controlled sets add up. Which cue will you try first: the wedge under the tailbone, the tempo, or the mirror check?

