My yard used to hold a rusty grill and a pile of patio chairs. I wanted an outdoor workout spot that felt pro, not temporary. I spent about $650 building a weather-proof training corner with rubber flooring, a galvanised pull-up bar, and a storage bench. Now I use it three times a week.
This guide focuses on an industrial-rustic outdoor gym look—durable, tidy, and visually calm. Expect $300–$900 depending on whether you buy a permanent shed or portable kit. Best for narrow side yards, patios, or a corner of a lawn. The post-pandemic move to outdoor fitness makes multi-zone layouts and rubber flooring popular right now.
What You'll Need for This Look
Foundation pieces:
- rubber+gym+floor+tiles+interlocking (6–12 tiles, ~$120-250) — I recommend 3/4-inch tiles for drop protection
- plywood+platform+4×4+lifting+platform (1 platform, ~$80-150) — place under barbells/olympic lifts
Strength & structure:
- galvanised+steel+pull+up+bar+outdoor (single bar or wall-mounted rig, ~$150-350)
- adjustable+weight+bench+weather+resistant (~$120-250)
- kettlebell+set+adjustable (pair or set, ~$80-300)
Accessories & storage:
- weatherproof+storage+bench+outdoor (~$100-250)
- battle+rope+50+feet (~$50-100)
- resistance+bands+set+outdoor (~$15-40)
- plyo+box+wood+20+24+30 (~$70-150)
Weather protection & privacy:
- outdoor+privacy+screen+bamboo (~$40-120)
- solar+string+lights+outdoor+warm+white (~$20-50)
Budget-friendly swap:
- Instead of a custom shed, try heavy+duty+pop+up+canopy+10×10 (~$80-200) for seasonal cover.

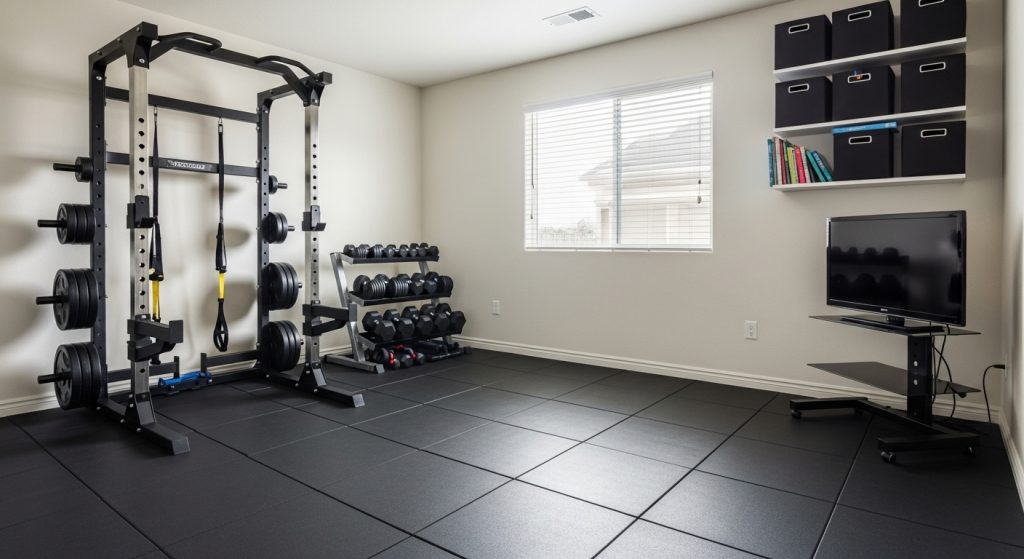
Start with a durable base: rubber flooring and platform

The floor is the visual and functional anchor. I began with interlocking rubber gym tiles laid in a 6×6-foot area. They mute noise and handle drops. On top of tiles I added a 4×4 plywood lifting platform for barbell work. Visually, the contrast between matte black rubber and raw plywood reads industrial-rustic. Place tiles so edges meet a solid border like pavers or decking. I kept a 2–3-foot clear perimeter for mobility—this avoids a cramped feel.
Common mistake: picking thin foam floor mats. I tried a 1/4-inch kit and the kettlebell dented it. Spend a bit more on 3/4-inch rubber or a plywood platform under heavy lifts. I used Lux Guard style rubber tiles as a search term when I upgraded.
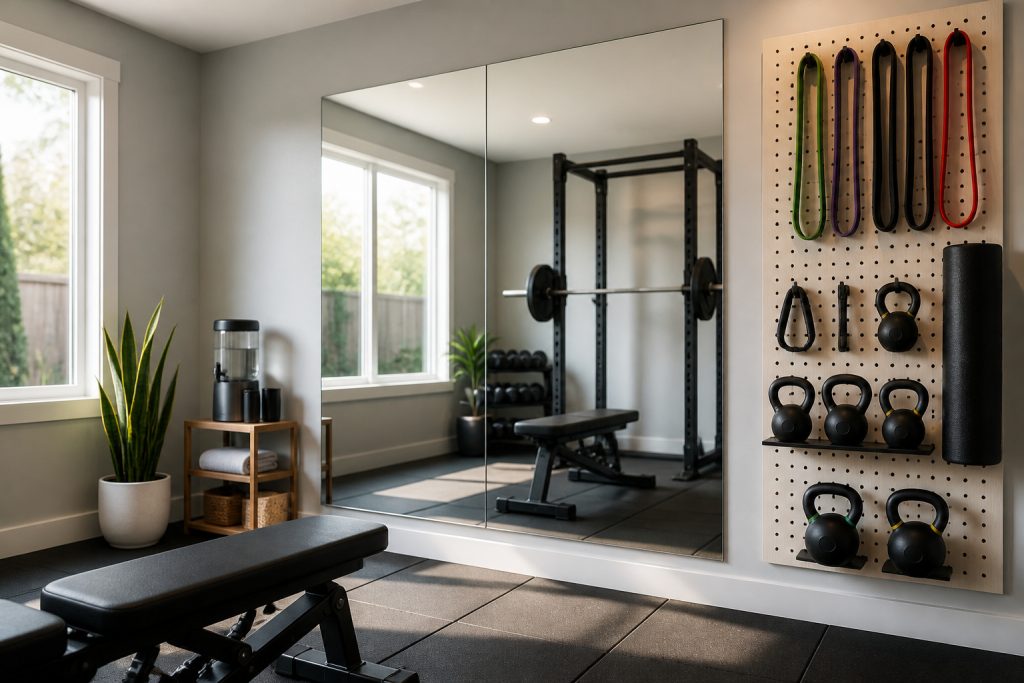
Zone for function and flow: strength, cardio, and mobility

Zoning keeps the backyard gym feeling tidy and pro. I split my 10×6 space into three zones: a strength corner with galvanised pull-up bar and bench, a cardio/mobility strip with battle rope and jump rope, and a plyometrics spot with a wood plyo box. Keep storage against one wall: a weatherproof storage bench holds bands and towels. Visually, repeat materials—galvanised metal, black rubber, and unfinished wood—so zones read cohesive.
Placement rule: let large equipment anchor the back wall. That keeps the center open and gives a clear sightline for safety. I once scattered gear and it looked cluttered; a simple rack solved it.
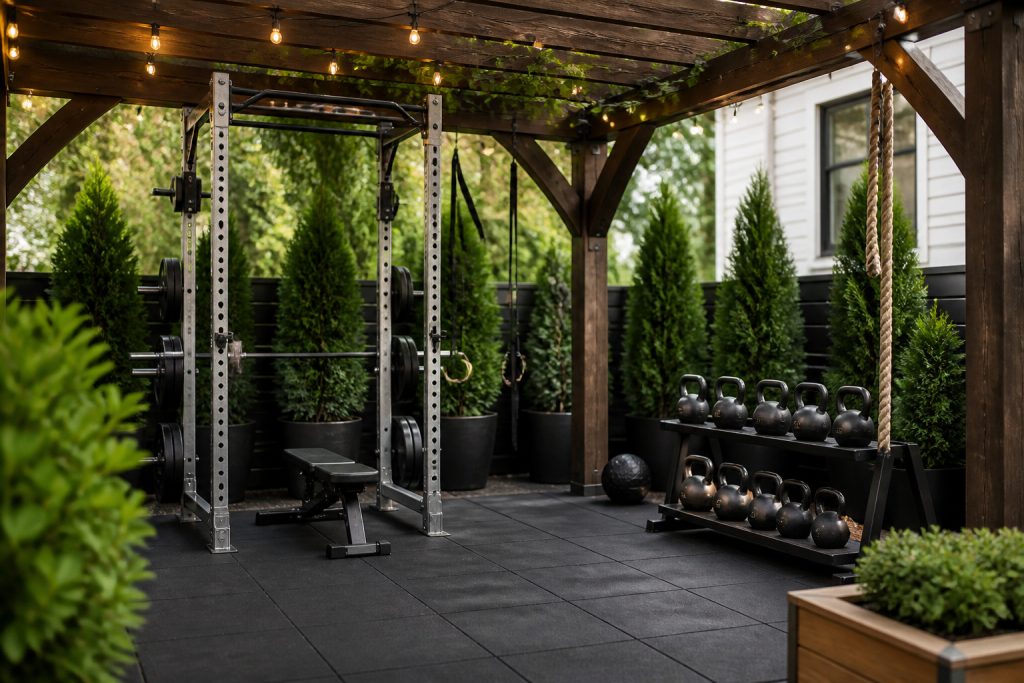
Soften and protect: shelter, lighting, and privacy

Weather matters. For a low-cost canopy, I used a heavy-duty pop-up canopy 10×10 and added solar string lights for evening workouts. If you want a permanent option, look up LP Smartside siding and builders like Stoltzfus Structures for custom sheds—these cost $500+ but give full insulation with spray foam insulation for year-round training. For privacy I leaned on a bamboo privacy screen and planted fast-growing evergreens in 3-gallon pots.
I tried clear plastic tarps once. They steamed up and looked cheap. The canopy plus string lights reads intentional and holds up better.
Common Styling Mistakes to Avoid
Mistake: overfilling the footprint
Why it doesn't work: Equipment too close makes movements unsafe.
Do this instead: leave a 2–3 ft perimeter and designate a clear center for dynamic moves. Store extras in a weatherproof storage bench.
Mistake: cheap floor mats under heavy lifts
Why it doesn't work: They compress and wear quickly.
Do this instead: use 3/4-inch rubber gym tiles or a plywood lifting platform.
Mistake: no weather plan for metal hardware
Why it doesn't work: Rust and degraded finish.
Do this instead: choose galvanised steel pull-up bars and cover hardware or add a canopy.
Shopping Guide: Where to Find These Items
- For durable flooring: search Amazon for rubber+gym+floor+tiles+interlocking. I compared brands and chose thicker tiles.
- For outdoor rigs: look for galvanised options via galvanised+steel+pull+up+bar+outdoor or local metal fabricators.
- For storage & seating: weatherproof+storage+bench+outdoor doubles as a tidy spot and a bench for rest.
- For seasonal cover: heavy+duty+pop+up+canopy+10×10 is affordable and quick to set up.

Start with the base: get the rubber tiles and a storage bench first. I added the bench two weeks after the tiles and it made the area feel finished. Which element will you add first—flooring, a rig, or cover?